 how-to
How to Deep Clean Fabric Chairs in Toms River
Table of Contents
- How to Deep Clean Fabric Chairs in Toms River: A Step-by-Step Guide
- Start With Upholstery Cleaning Codes Before You Touch the Fabric
- Gather Your Supplies and Test Before You Clean
- The DIY Deep-Cleaning Workflow for Fabric Chairs
- Fabric Chair Stain Removal Without Damaging the Fabric
- How Long Upholstery Takes to Dry and How to Speed It Up
- When to Choose Professional Upholstery Cleaning
- Frequently Asked Questions
Last Updated: October 15, 2026
How to Deep Clean Fabric Chairs in Toms River: A Step-by-Step Guide
Most homeowners guess at cleaning fabric chairs, and a fair number make the damage worse. Learning how to deep clean fabric chairs Toms River homeowners can actually trust starts with one step most people skip: reading the tag.
Here is the good news. A careful DIY clean handles most fabric chairs well. You just need the right order of steps.
Below, we show you the exact workflow we use, plus the warning signs that mean it is time to call a pro.
Start With Upholstery Cleaning Codes Before You Touch the Fabric
Upholstery cleaning codes tell you which cleaning method a fabric can survive. The code is a short letter on a tag under the seat cushion or behind the chair. Find it before you buy any cleaner.
What Each Code Means for Your Chair
- W: Water-based cleaners are safe. This is the easiest fabric to clean at home.
- S: Solvent-based cleaners only. Water can leave rings and shrink the fabric.
- WS: Either water or solvent works. You have the most options here.
- X: Vacuum only. No liquid cleaner of any kind.
Check the ASTM care labeling standards for textiles if a tag is missing or faded. When you cannot find the code, test on a hidden spot first.
Gather Your Supplies and Test Before You Clean
Testing a cleaner on a hidden spot is the step that prevents most disasters. You need a few basic supplies first. Here is what to gather:
- A vacuum with an upholstery attachment
- A fabric-safe upholstery cleaner or a mild dish soap mix
- Clean microfiber cloths and a soft brush
- Distilled water in a spray bottle
Test any cleaner on the back or underside of the chair. Wait 24 hours. Check for color bleed, fading, or a stiff feel before you touch the visible fabric.
The DIY Deep-Cleaning Workflow for Fabric Chairs
A good deep clean follows the same order every time: vacuum, pre-treat, agitate, rinse, extract, dry. Skipping the vacuum step pushes dust deeper into the fabric, and skipping extraction leaves residue that pulls dirt back to the surface within days.
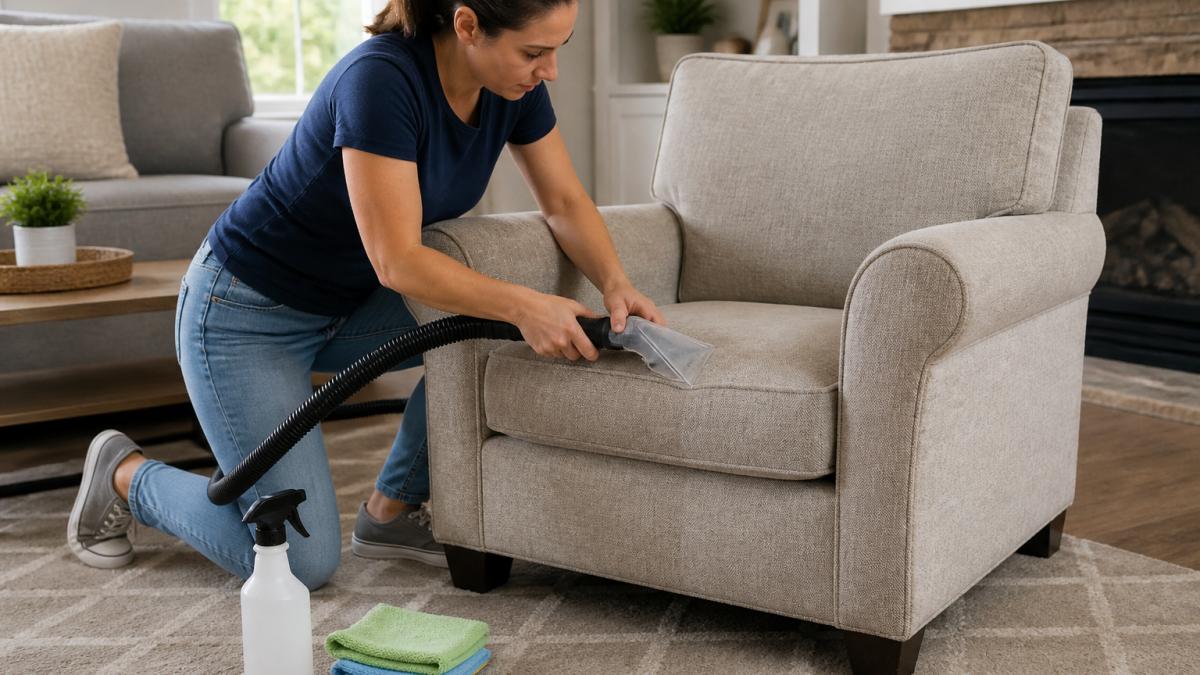
Match the Method to the Care Code First
Before you mix anything, confirm the tag code and pick your lane:
- W: Water-based cleaner. Mix 1 teaspoon of clear, dye-free dish soap per 1 quart of distilled water, or use a pH-neutral upholstery shampoo at the label dilution.
- S: Solvent-based cleaner only. Water-based mixes can shrink the fabric and leave rings. Work in a ventilated area.
- WS: Either works. Water-based is usually easier to rinse out of a chair you cannot fully submerge.
- X: Vacuum only. No liquid of any kind.
Step 1: Vacuum Both Sides of Every Cushion
Remove the seat cushion and vacuum the top, the underside, and the deck beneath it. Use the upholstery tool with the brush bar off so you do not pull loops in woven fabric. Run a crevice tool along the seams, the piping, and the gap between the arm and the seat, where crumbs and pet hair collect. This step alone removes a large share of the surface soil before any liquid touches the chair.
Step 2: Pre-Treat Spots and High-Traffic Areas
Spray your chosen cleaner on stains, armrests, and the front edge of the seat, where hands and legs make contact most. Let it dwell five minutes. Do not scrub hard; agitation should be gentle and circular with a soft brush or a microfiber cloth.
Step 3: Work in Small Sections
Divide the chair into panels: left arm, right arm, seat, back. Finish one panel before starting the next so the fabric never gets soaked through. Over-wetting is the single most common cause of water rings, browning, and mildew in home cleaning.
Step 4: Rinse and Extract
Rinse with a cloth dampened in distilled water, wiping in small circles to lift loosened dirt and leftover cleaner. Then extract:
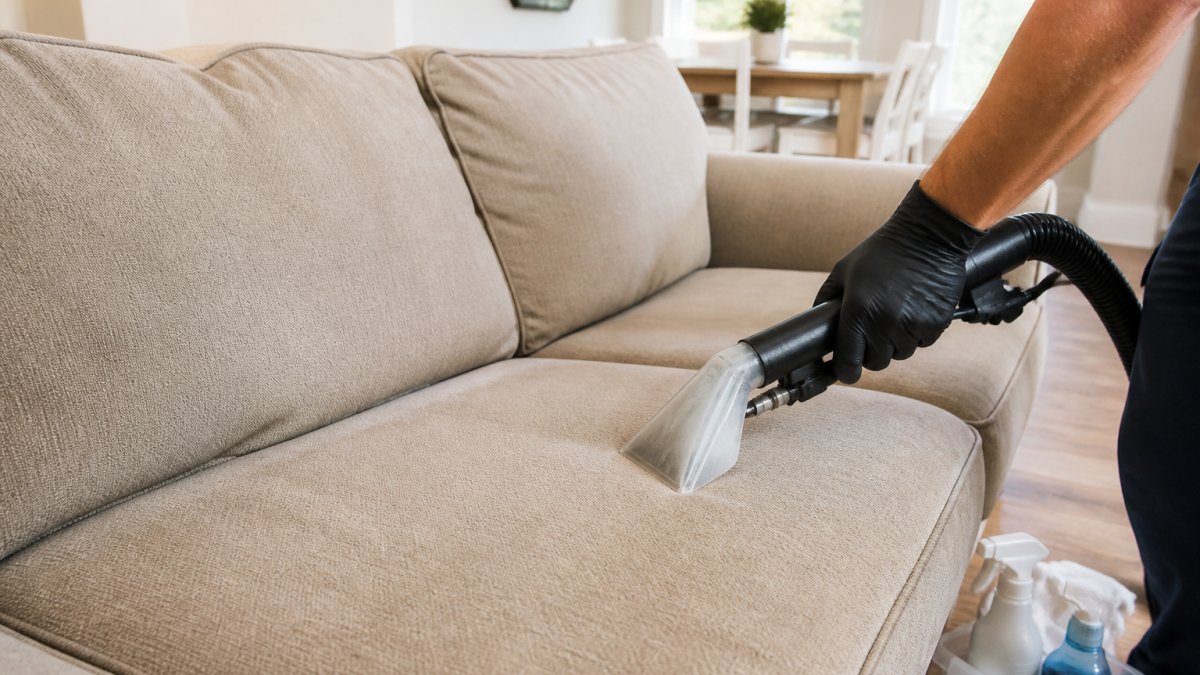
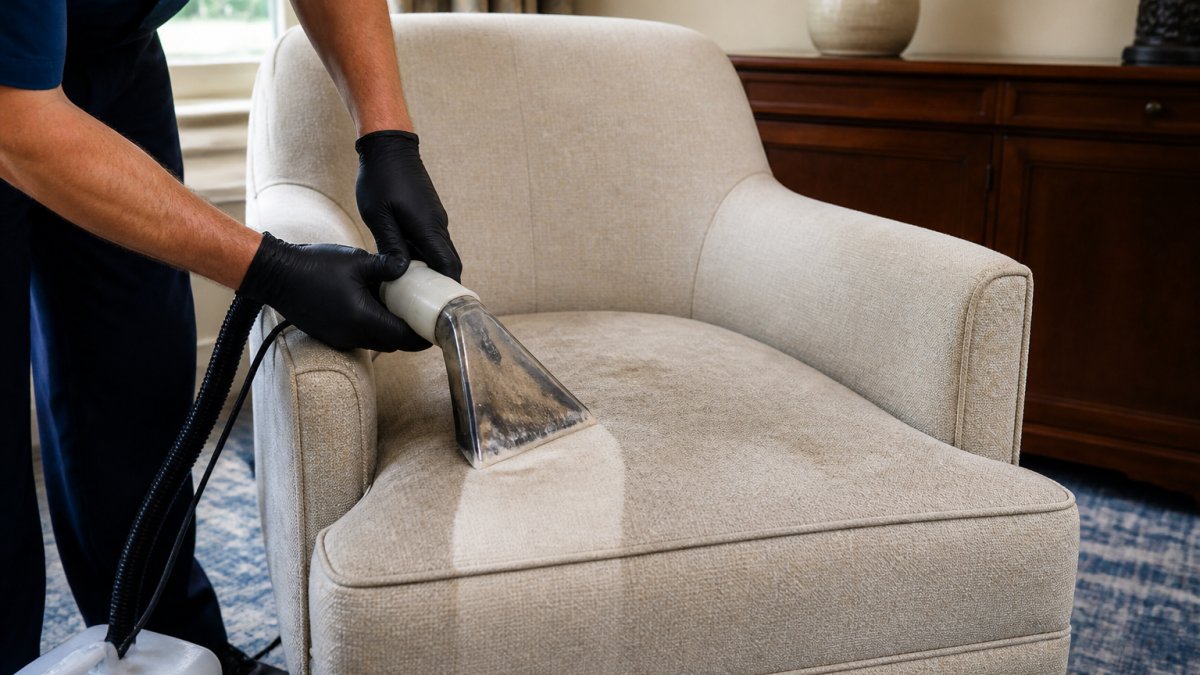
- With a wet vacuum or extractor: Make slow, overlapping passes, one direction per pass, and stop when the recovery tank runs clear. Do not press the nozzle hard into the fabric; let suction do the work.
- Without an extractor: Press a dry white towel into the fabric, stand on it or lean your weight in, and repeat with fresh towels until the towel comes up barely damp.
Step 5: Lift the Pile and Let It Dry
Brush the nap back in one direction with a soft brush while the fabric is still slightly damp. This prevents the crushed, matted look that comes from drying flat. Then move to airflow and drying, covered in the next section.
Chair Materials That Change the Process
- Microfiber: Cleans well with a lightly dampened cloth and a mild mix; too much water leaves streaks.
- Linen and cotton: Prone to shrinkage and water marks; use the lightest moisture that works and dry fast.
- Velvet and other pile fabrics: Use a solvent cleaner or a low-moisture foam, brush the pile upright, and never scrub against the nap.
- Glued or bonded components: Keep moisture low around seams and the base, where adhesive can soften and release.
For deeper grime, a hot-water extraction machine lifts embedded dirt from fabric fibers better than hand blotting. Match the tool to the code, and the chair survives the clean.
Fabric Chair Stain Removal Without Damaging the Fabric
Stain removal works best when you blot, not rub. Rubbing spreads the stain and can fray the fabric fibers.
Treat each stain by type:
- Pet accidents: Blot, then apply an enzyme cleaner made for pet odor.
- Food and grease: A drop of dish soap in warm water, then blot.
- Ink: Rubbing alcohol on a cloth, dabbed gently.
- Coffee or wine: Cold water and a mild detergent, blotted from the edge inward.
Always work from the outside of the stain toward the center. This stops the stain from spreading into clean fabric.
How Long Upholstery Takes to Dry and How to Speed It Up
Drying is where a good clean either holds or fails. Most fabric chairs dry in 4 to 8 hours with good airflow, but that range assumes you extracted properly and the room is not humid. Damp fabric left too long can grow mildew, hold odor, and wick dirt back to the surface.
What Controls Drying Time
- How much water you left behind. A wet vacuum that pulls the fabric to barely damp cuts drying time roughly in half compared with hand blotting.
- Fabric code and material. W and WS fabrics tolerate moisture and dry predictably. S-coded chairs should never be wet-cleaned, so drying is a non-issue if you followed the code. Dense pile fabrics like velvet hold moisture longer than flat weaves.
- Airflow. Moving air removes moisture far faster than still air. A fan pointed at the chair beats an open window on a still day.
- Humidity. This is the local variable that matters most. In humid weather, indoor air holds moisture and a chair that would dry in 4 hours can take 12 or more. Run a dehumidifier or the air conditioner in the room while the chair dries.
- Temperature. Warm air holds more moisture than cool air. A comfortable room temperature speeds drying; a cold, closed room slows it.
Speed It Up Without Damaging the Fabric
- Run a fan pointed at the chair, and keep it running until the fabric feels dry to the touch on both sides of the cushion.
- Open windows only when outdoor humidity is low; on a muggy day, closed windows plus a dehumidifier works better.
- Blot again with a dry towel after cleaning, before you turn on the fan.
- Lift the cushion and prop it on its edge so air reaches the deck and the underside.
- Avoid heavy soaking in the first place. Less water in means less water out.
When Is the Chair Safe to Use Again?
A chair is safe to sit on when the fabric feels dry to the touch and cool, not damp, on both the top and the underside of the cushion. If the cushion still feels cool after a full day, moisture is trapped inside the foam.
If the chair still feels damp after a full day, you used too much water. Next time, use less cleaner and blot more.
When to Choose Professional Upholstery Cleaning
Professional upholstery cleaning makes sense when stains keep coming back or the fabric is delicate. Some jobs are simply safer in trained hands.
Call a pro when you see:
- Reappearing pet odor that home cleaners cannot kill
- Set-in stains from spills left too long
- "S" or "X" coded fabric you do not want to risk
- Heavy allergen buildup from dust and pet dander
That last point matters for families with allergies. Removing embedded dirt and allergens from fabric helps indoor air quality.
At Sanctified Carpet & Upholstery Cleaning, we handle expert upholstery detailing and full carpet cleaning for homes across the area.
| Situation | Best Approach | Why |
|---|---|---|
| Light dust and freshening | DIY vacuum and baking soda | Fast, low cost, safe |
| One small fresh stain | DIY spot treatment | Easy to control |
| Set-in or repeated stains | Professional cleaning | Stronger tools and know-how |
| Pet odor that returns | Professional cleaning | Reaches deep into fibers |
| "S" or "X" fabric | Professional cleaning | Avoids water damage |
Frequently Asked Questions
How do you deep clean a fabric chair?
Start by checking the upholstery cleaning code on the tag, then vacuum both sides of the cushions to pull out loose dust and debris. Test your cleaning solution on a hidden spot, pre-treat stains, and work in small sections using a fabric-safe cleaner. Rinse with a damp cloth or extractor, then let the chair air-dry with good airflow. For chairs labeled WS or S, use a solvent-based cleaner instead of water. Deep clean fabric chairs every 6 to 12 months, or sooner if you have pets or kids.
How long does it take a fabric chair to dry after cleaning?
Most fabric chairs dry in 4 to 8 hours with good airflow, though thicker cushions or humid days can push drying to 12 hours or more. Open windows, run a fan, and avoid sitting on the chair until it is fully dry. If you used too much water during cleaning, drying can take longer. A wet vacuum or professional extraction removes more moisture and shortens drying time compared to manual scrubbing.
Can I use Dawn dish soap to clean my fabric couch or chair?
Dawn can work as a spot treatment on some water-safe fabrics, but it is not a deep cleaner. Use only a few drops diluted in warm water, and always test on a hidden area first. Dish soap can leave residue that attracts dirt, so rinse thoroughly with a clean damp cloth. Never use it on chairs coded S or X, which require solvent-based or dry cleaning methods only.
When should you hire a professional to clean a fabric chair?
Call professional upholstery cleaning when stains have set for weeks, when odors from pets or spills keep returning, or when your chair is coded S or X and cannot be safely cleaned at home. Professionals also help allergy sufferers by removing embedded dust and allergens with hot-water extraction or low-moisture methods. If your DIY attempt left rings, discoloration, or a damp smell, stop and get help before the damage worsens.
Fabric chairs take a beating from kids, pets, and daily use. When DIY cleaning stops working, or you want the job done right the first time, Sanctified Carpet & Upholstery Cleaning is ready to help. We offer expert upholstery detailing, full carpet cleaning, and bundle deals at very reasonable prices. Get started with Sanctified Carpet & Upholstery Cleaning and bring your furniture back to life.